Introduction
This is the final post of a three-part series demonstrating how to use Voilà to deploy your Jupyter notebook analysis as a web application
- (Part1) 🌱 Bringing your analysis to life: Interactive Python Dashboards Straight from your Jupyter Notebook
- (Part2) 🏎 Optimise loading performance: Methods for dramatically speeding up application loading time
- (Part3) 🌍 Share with the world: Deploy your Voilà application on Heroku
So, you have created an interactive application from your Jupyter notebook using Voilà. How can you share your analytics app with the world?
For this, you need to deploy the application at a publicly accessible URL which normally involves using a web/cloud hosting service.
Voilà's documentation helpfully provides three methods for deploying Voilà applications: Binder ; Heroku or GCP App Engine .
In my opinion, Heroku is the simplest and most cost-effective method for deploying apps.
Heroku offers an excellent free tier, without requiring credit card information when signing up, which allows you to host your apps completely for free. There is also a more comprehensive 'Hobby' tier with flat-rate pricing of $7 a month which seems very reasonable in comparison to other providers such as GCP App Engine where a simple app with low traffic could cost over $40 a month to run.
This post will explain the steps required to host your Voilà application on Heroku. We will continue to use the stock comparison app from the previous two posts as an example application to deploy.
💻 All code is available in this GitHub repository
📈 The final Voilà application can be viewed at this URL
Prerequisites
The following instructions assume you have initialised a git repo on your local computer which contains the Jupyter notebook you want to deploy as a Voilà web application.
If you do not have your own notebook, you can still clone the example GitHub repository and follow along.
Deploying on Heroku
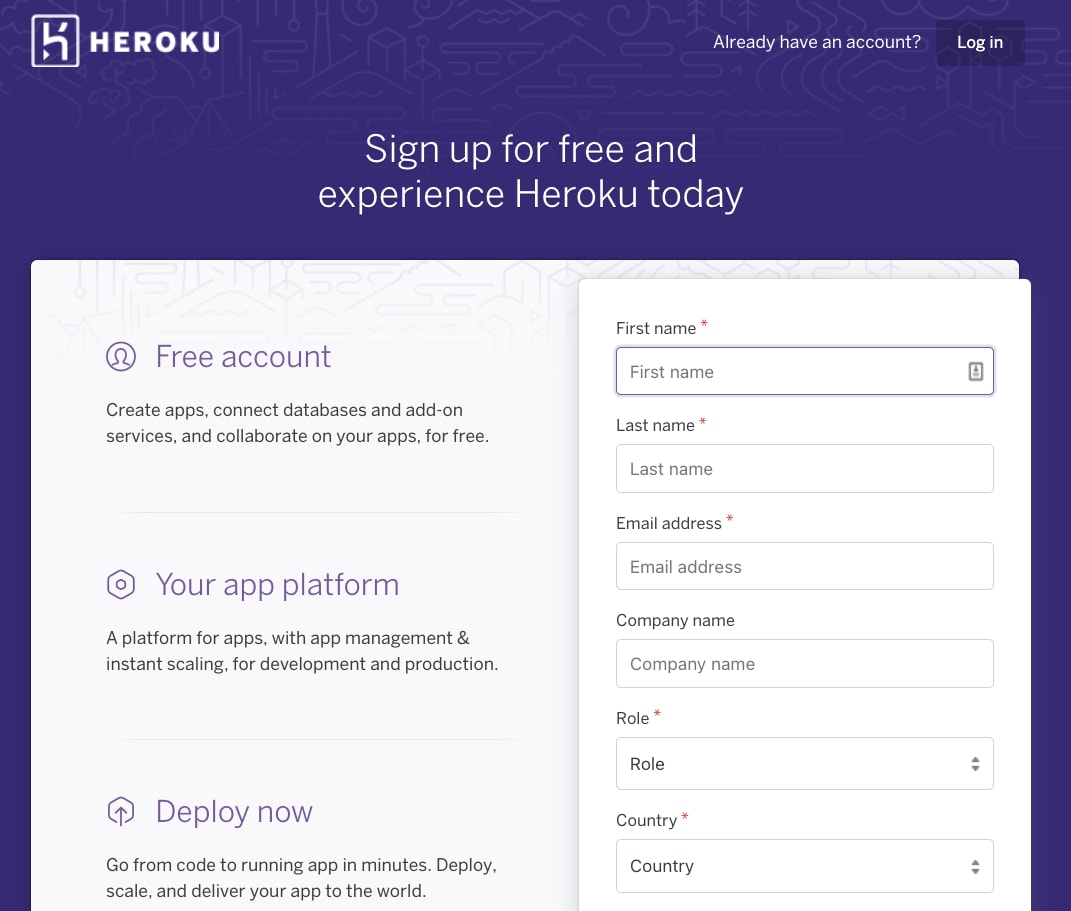
1. Sign up for a free account
The first thing to do is create an account for free on Heroku (without needing a credit card) if you do not already have one.
2. Download the CLI
It is possible to create an app using the user interface, however, I would recommend downloading the CLI tool. It is simple to use and allows you to deploy, manage and debug your application entirely from the command line.
If you are on Mac you can install the CLI via brew using the following command:
brew tap heroku/brew && brew install heroku
Windows users will have to download the CLI installer manually. See the Heroku documentation for installation instructions.
3. Log in to the CLI
When the CLI has been successfully downloaded you will have access to the heroku keyword command on your terminal.
Log into Heroku and authenticate your terminal session using the following command:
heroku login
Running the command will prompt you to press any key which will then open your browser. Fill in your credentials as prompted in the browser. Upon returning to your terminal you should be greeted with a message confirming you have been logged in successfully.
4. Create a new Heroku app
Navigate to the top level of your git repository (i.e. where your .git folder is located) and ensure you have committed your application files to version control.
# ensure you have committed your files to version control
git add <your-files>
git commit -m "your message"
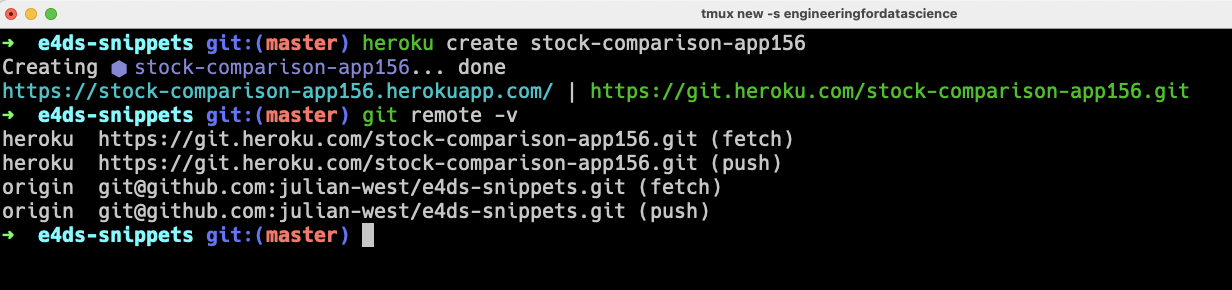
Use the Heroku CLI to create a new app with a name of your choice.
# create new app
heroku create stock-comparison-app156
Note that the name of the app must be globally unique. In this example, someone has beaten me to
stock-comparison-appso I had to add a few numbers at the end – oh well 😞
This command will generate a new app and create a connection between your application code and Heroku by adding Heroku as a remote git repository.
It will take a couple of seconds to create the Heroku app. You can verify the app has been successfully created by listing your available apps using the heroku apps command, or by checking in the Heroku user interface.
If you run the git remote -v command you will list the remote repositories and there should be two new entries for the Heroku app.
5. Create deployment files (Procfile)
Deploying your application on Heroku requires that you specify any library dependencies for your project and the parameters required to launch your Voilà application.
This involves creating a couple of extra files in your repository. The first of which is a Procfile.
Procfile
A Procfile specifies the commands that are executed by the app on start up.
In the case of a Voilà application, the Procfile contents is simply the command which you would use to launch the Voilà application from your command line. The only addition is the web: keyword at the beginning
For example, if we wanted to launch the stock_comparison_app.ipynb notebook as a Voilà application with hotpooling enabled (explained in post 2
) we would include the following:
web: voila stock_comparison_app.ipynb --port=$PORT --no-browser --preheat_kernel=True --pool_size=3 --fill_delay=1 --MappingKernelManager.cull_interval=20 --MappingKernelManager.cull_idle_timeout=20
This command references the notebook we wish to deploy followed by the Voilà configuration parameters.
Note that when deploying on Heroku it is important to set the --port=$PORT flag which is optional when deploying locally.
requirements.txt
When you deploy the app on Heroku, Heroku will build the app along with any dependencies. You should ensure there is a requirements.txt file with the libraries your application depends on specified (example
).
Heroku will automatically detect this file and load all dependencies when building the app.
Python Runtime (optional)
Additionally you can also specify the Python version your app uses by adding a runtime.txt file to your repository (example
).
If the runtime.txt file is not present Heroku will automatically detect it is a Python application choose a default Python version. This may not be a problem in most cases, however, it is always best practice to be explicit with your dependencies in order to avoid potential bugs in production caused by a different Python environment.
6. Deploy the app
Finally, to deploy the app we need to push the code changes to the heroku remote repository (make sure you have staged and committed your code first).
This is done using the following command:
# deploy the app
git push heroku master
Side Note
The above command assumes you have your Procfile and requirements.txt in the top level directory of your git repository which is normally the case.
However, if your application is in a subdirectory of a larger project you need to use the following git subtree command which specifies the location of your application files. This command should still be run from the top level of the git repository (i.e. where your .git folder is stored).
git subtree push --prefix <path/to/application_subfolder> heroku master
If you are following along using my example repository in the e4ds-snippets project . The Voilà application is in a subdirectory, therefore to deploy the application from the subdirectory the command to use is:
git subtree push --prefix jupyter/voila heroku master
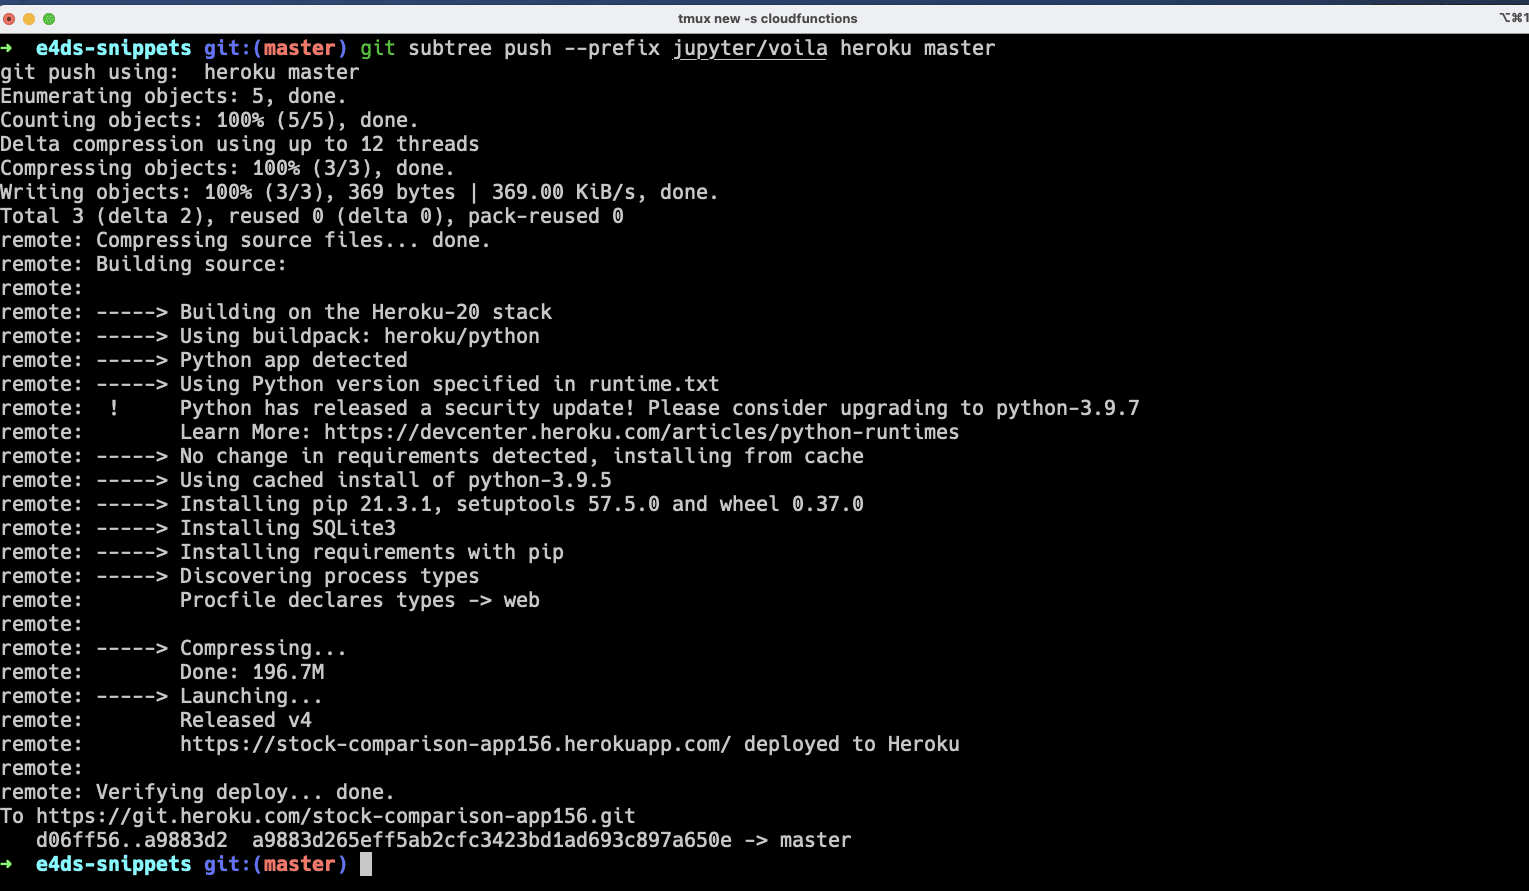
Voilà - your app is deployed 🚀!
You should now be able to access the app at https://<your-app-name>.herokuapp.com which is publicly accessible for anyone to see, ready for you to share with others.
Click here to view the example app from this tutorial series in action.
Debugging
If your deployment is unsuccessful you can debug by inspecting the build logs which are created when you push to code to the remote Heroku repository.
# view the application logs
heroku logs --tail
The most common errors, in my experience, come from forgetting dependencies in the requirements.txt file or syntax errors in the Procfile.
Caveats
The example deployment uses the Heroku free tier. While very generous, there are limits on usage. Each user account is given 550 free ‘dyno ’ hours per month (essentially a quota on free continuous hosting). After reaching this threshold your application will be forced to ‘sleep ’. Your application will still be accessible, however, it will take a little longer to load when a user tries to access the app while the application starts up again (approx 20 seconds). The application will be put to sleep again after 30 mins of inactivity.
This may not be a problem if you are not expecting much traffic or do not mind users potentially waiting 20 seconds to access the app. However, to avoid your app being put to ‘sleep’ you need to upgrade to the (still very reasonable) $7 per month ‘Hobby’ tier to ensure a consistent user experience.
Summary
In this three part series we have introduced Voilà which allows you to create stand alone web applications straight from your Jupyter notebook. We have covered various ways to improve the loading performane and finally deployed the application on Heroku for free.
There are a number of great alternative Python dash boarding tools to Voilà, such as Streamlit and Dash. However, Voilà is excellent for its seamless integration with Jupyter notebooks which is where most Data Science projects start. Voilà is great for quickly deploying proof of concept web applications without having to change any of your notebook code so it is a great first start for sharing analysis with colleagues and stakeholders.
Happy coding!